ScripToons IIMaxScript Release 0.62 Beta Source FOR MAX 3 (7/27/1999)Copyright (c) 1999 by Borislav Petrov, Bobo's Rendert**ls. |
The ScripToons II RenderEffect provides
two main control areas:
The "Pen and Ink Settings" Rollout lets
you toggle the controur inking on and off.
There are two modes for inking - the default
CONTOUR Pen (Coverage Based)
uses the coverage values provided by the
MAX renderer.
It detects self-overlapping inside of
single objects.
The alternative mode is OUTLINE Pen (Node
Based).
It detects the outlines of the objects
based on the Node channel provided by the MAX renderer.
Elements inside of an object are NOT detected.
See Image 4.
The From and To values let you limit the
Coverage values to a smaller range.
This gives the Contour Pen a dashed appearance
- see Image 3.
You can also set the Width of the Pen
in pixels and the Color of the Ink.
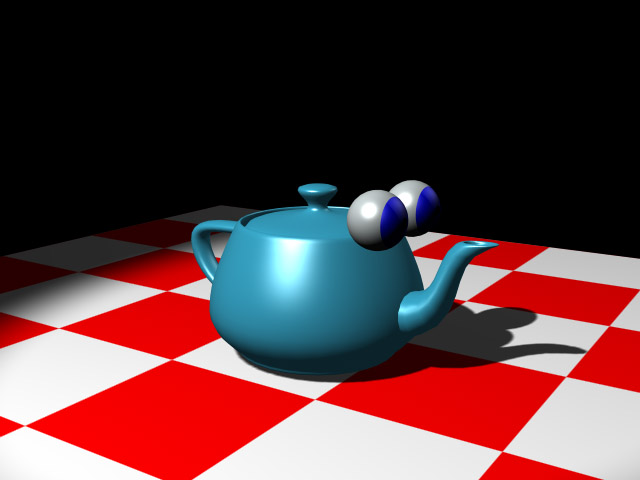
Image 1: Original Rendering without Rendering
Effects.
Image 2: Image after ScripToons II processing
with Default Settings.
*The Cartoon Shading - Material Colors
rollout provide controls over the flat shading
of the objects. Other than in the original
ScripToons version, ScripToons II uses
the actual material colors of the object
detected in each pixel.
*The pixel value of the RGB channels is
being compared to the two limit values.
-Values lower than the Ambient-Diffuse
value are replaced with the Ambient color
of the material. In case there is no material,
30% of the Wireframe Color are used.
-Values between Ambient-Diffuse and Diffuse-Specular
receive the Diffuse color.
If there is no material, the Wireframe
color is being used instead.
-Values above the Diffuse-Specular Limit
are replaced with the Specular color.
If there is no material, Pure Write color
is being used.
*When a Multi/Sub material is being detected,
the Sub-Materials cannot be
detected directly. ScripToons II expects
the index of the Sub-Material to
be found in the EffectsChannel (Material
ID). This limits the Shading code
to only 16 Sub-Materials per Multi/Sub
Material. Instead of setting the Material
IDs manually, you can use the "Generate
MaterialChannels for Multi/Sub Materials"
button.
Image 3: Yellow Ink with From:32 To:200
settings. Note the dashed appearance of the contour line.
The Smooth Border Lines toggle is a kind
of primitive Anti-Aliasing.
It smooths the borders between the flat
colors in the material.
On Image 4, it has been disabled.
Image 4: Both Ambient-Diffuse and Diffuse-Specular
Limits reduced. Pen Width: 4
No Border Smoothing.
Image 5: Both Ambient-Diffuse and Diffuse-Specular
Limits increased. Pen Width: 3