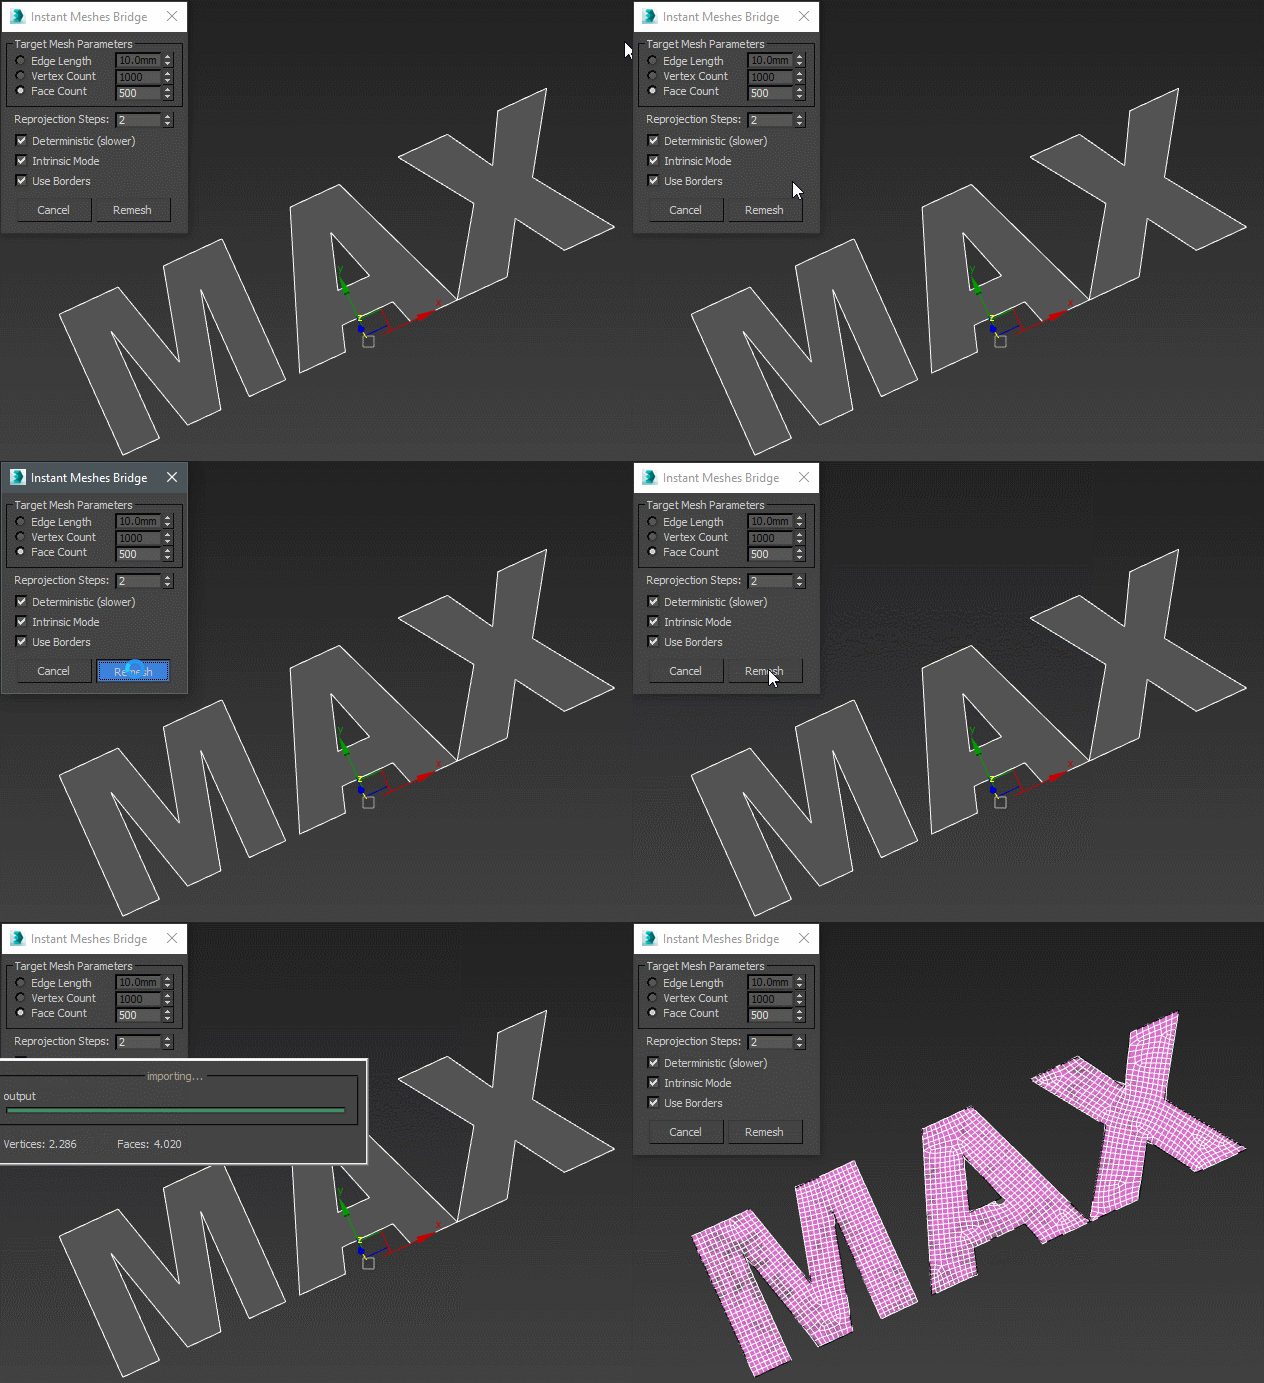
Instant Meshes Bridge
A bridge from 3ds max to instant meshes. Without leaving max interface, it exports, remeshes and imports the remeshed object back based on the parameters in the dialog.

Installation: It can be run from any location (Maxscript -> Run Script...). If you want to put it in toolbar, menu or quadmenu, you can create a macroscript for it using Macroscript Creator. At first run, the script will ask for a location of your instant meshes executable - this will only happen once, provided that you don't reinstall max/remove the executable from the path.
| Attachment | Size |
|---|---|
| instantMeshesBridge.ms | 7.95 KB |

Comments
Whoa
Wonderfull script... Thanks a lot for your hard work and for sharing ^^
da-studio
Hard edges
Ah, that's a bit of a shame. Wasn't there a way to preserve edges in IM (I've only played around a little)? Possibly transferring them as smoothing group splits or edges creases from Max would work?
Either way, great bridging script - thanks so much.
well, the source of the application is available so it is possible - for someone with the skills of writing C++ plugins and enough time at hand
Some of my scripts and MCGs :: 3ds Max SDK Intro for Scripters
As Modifier in the modifier stack
Can this be implemented as a modifier in the modifier stack without exporting and importing? Then everything could remain editable. This could work very well for booleans instead of exporting to Zbrush and using to merge the shapes and create rounded corners.
my fault
i have checked my settings of obj exporter, all ticks were unchecked , now everything work. sorry and thanks for this bridge.
https://www.artstation.com/artist/tituslvr
@TitusLVR - when you try to import the input.obj file back in max, does it import back correctly? Also, could you attach a screenshot of the export obj and import obj settings in max 2012?
Some of my scripts and MCGs :: 3ds Max SDK Intro for Scripters
@ Fajar - yep i have tryed as
@ Fajar - yep i have tryed as admin and change temp folder too - doesn't help. But with the latest version with send to IM button i have this(in max 2012):
http://imgur.com/a/2QUHM
and it creates an input.obj file. (remesh button doesn't work).
PS: mesh is just a standard box.
https://www.artstation.com/artist/tituslvr
Instant Meshes works better when you want to get a mostly quat topology on some complex surfaces that are already quite dense - quadify modifier totally flips out when you try to use it to simplify mesh. And if the shapes are organic, it's perfect. However, when you have a unsubdivided surface with sharp edges like your arches, the quadify modifier will keep your edges and add a row of quads along them while Instant Meshes will approximate it trying to get a nicer meshflow overall while sacrificing the exactness of original edges - see the attached image, quadify at the top and instant meshes below.
Some of my scripts and MCGs :: 3ds Max SDK Intro for Scripters
@Swordslayer Please be my
@Swordslayer
Please be my guest...I'm OK with it. I just being helped here ,knowing a little piece of wonderful software...and no need any credit tho.:cheers
little tiny bit...maybe we could add this line tho, in on button pressed to clear the temp file....
Thanks.
@titus : do you run as admin...if no then maybe the cause is that...may be you can change the temp dir tho....
Thanks for reporting that, though I cannot reproduce it in its entirety. For some reason, the default import ObjScale in max 2012 is 0.0, so I fixed that part. If you still have problems, could you attach a picture of obj import/export settings in max 2012?
Some of my scripts and MCGs :: 3ds Max SDK Intro for Scripters